Guide
How to Brief a 3D Render
A good brief is the simplest route to a better render. Every question a studio has to ask after work starts costs a day, and every assumption it has to make is a revision waiting to happen.
This page is the checklist we would like every client to work through before sending drawings. It fits on one page, it applies to exteriors, interiors and floor plans alike, and it mirrors the list our artists use when they check a new job in. Work down it once and the first draft lands far closer to what you pictured.
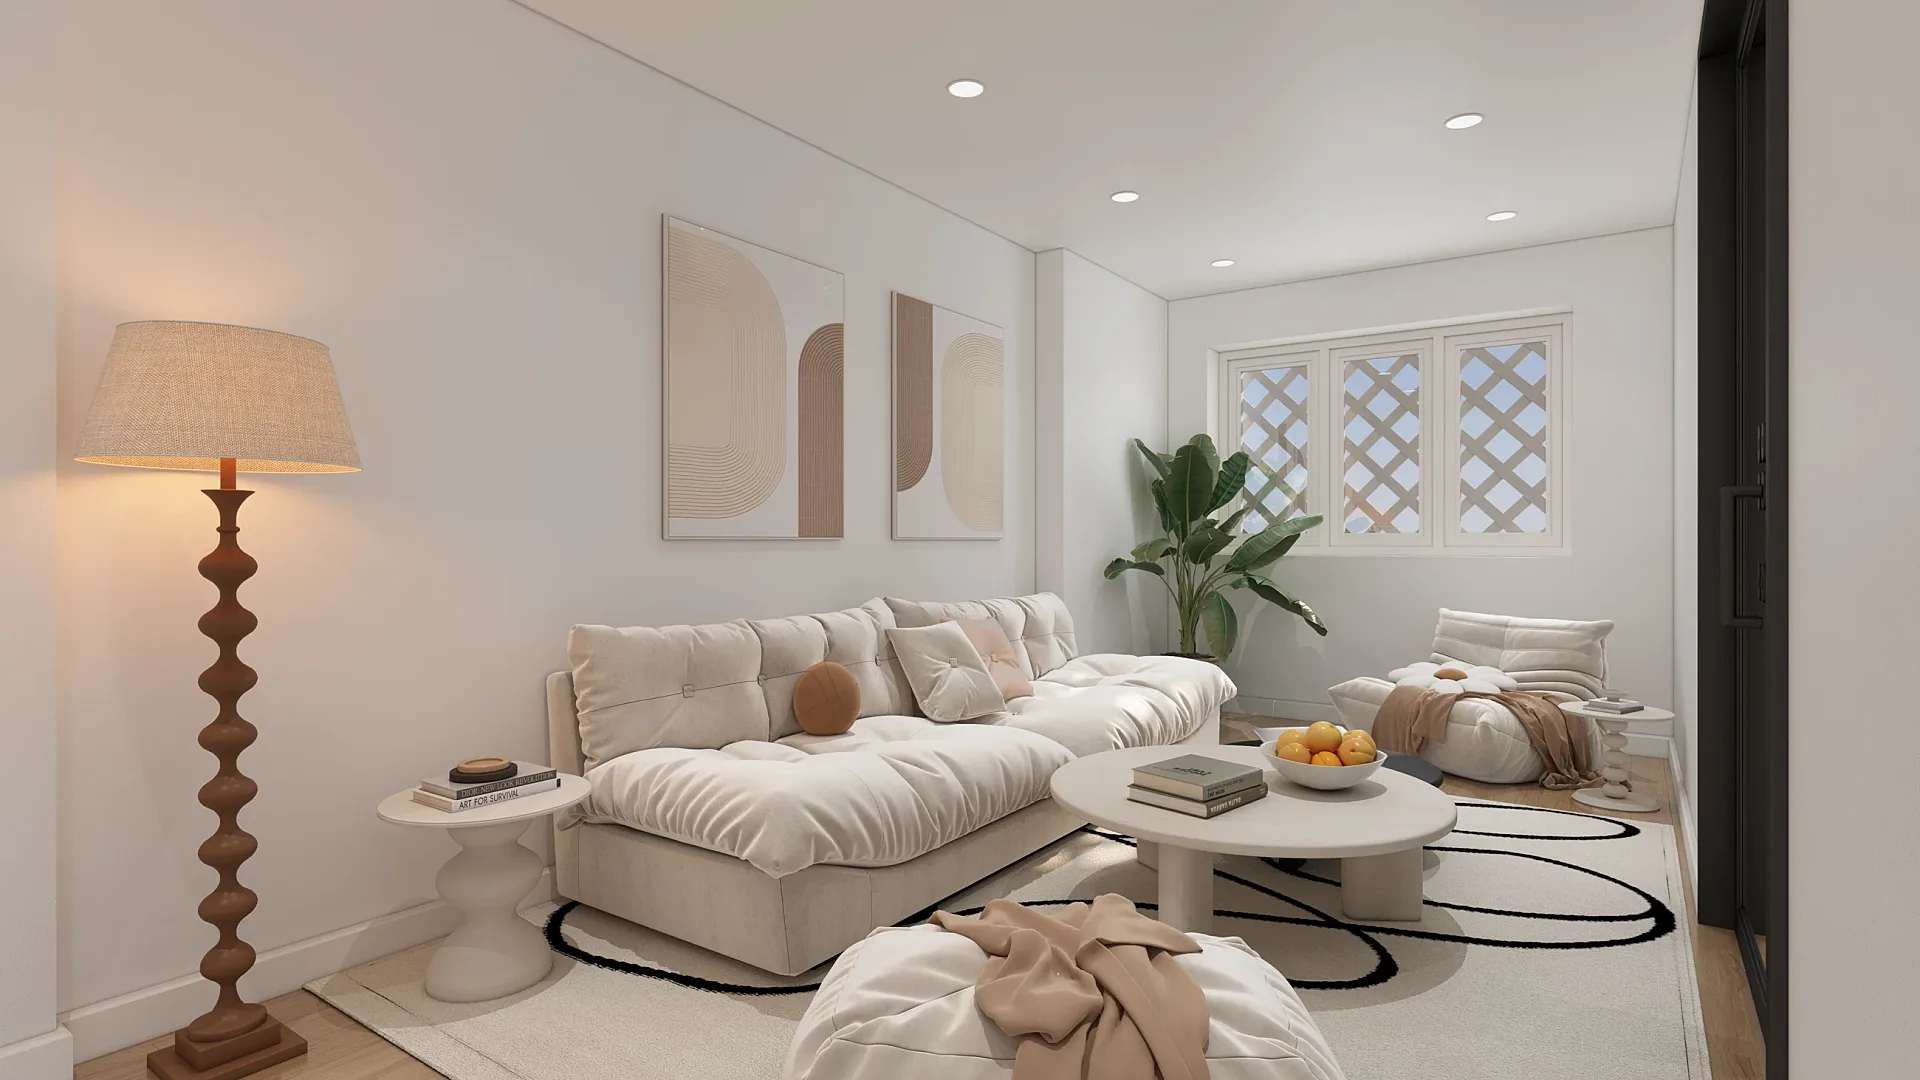

Written by Shrey Agarwal, Founder & Studio Director at Build3DRender
Published 25 October 2026
Step 1
Send the drawings
Plans, elevations and sections for every area in view, as PDF at minimum and as CAD or BIM files where you have them.
Step 2
Add site photographs
Phone photographs of the site, the street and the neighbouring buildings, taken from roughly where each camera will stand.
Step 3
Attach the finishes schedule
Every visible material with a product name or code: brick, roofing, windows, flooring, worktops, tiles and paint colours.
Step 4
List furniture and fittings
An FF&E list or a few product links for the pieces that matter, plus a short style note for everything else.
Step 5
Choose the camera views
Mark each viewpoint on a plan with a numbered arrow and say whether it is at eye level, from high level or an aerial.
Step 6
Share mood references
Three to five images showing the light, time of day and atmosphere you want, with a line on what you like in each.
Step 7
Agree the mark-up rules
Name one person to collect feedback and send it as one consolidated round, annotated directly on the draft.
Drawings and file formats
Studios can work from almost anything, but the format changes how long modelling takes. PDFs are the universal minimum. Native files save time because the geometry already exists and dimensions do not have to be read off a page.
Send the latest revision only, and say which drawing number wins if two of them disagree. Superseded drawings in the same folder are the most common cause of a model built to the wrong design.
- PDF: plans, elevations and sections at a stated scale, which is enough for most houses and interiors.
- DWG or DXF: 2D CAD from AutoCAD or similar, so the artist can trace walls and openings precisely.
- Revit (RVT) or ArchiCAD (PLN): a BIM model can save modelling time, although it usually needs tidying before it is fit to render.
- SketchUp (SKP): common for interiors and smaller schemes, and useful as a massing base even when the detail is light.
- IFC: the open BIM exchange format, handy when the design team uses software the studio does not.
Levels, sections and elevations
Plans describe a building in two dimensions only. Sections tell the artist floor-to-ceiling heights, roof pitches and how the ground falls across the site, while elevations fix window heads, sill heights and the lines where one material gives way to another.
If the site slopes, a topographical survey or a set of spot levels prevents the most common exterior error, which is a house sitting on a perfectly flat platform that does not exist. For interiors, include reflected ceiling plans where there are bulkheads, rooflights or feature lighting, and joinery elevations for kitchens, wardrobes and media walls, since those are the details buyers and clients look at first. Note any level changes inside, such as a sunken living area or a step down to a garden room, because they change every interior camera.
Site photographs and context
For an exterior, photographs of the site do more than any written description. Walk the street and take pictures from where a person would naturally stand, then a few looking back at the neighbours on each side. Include the boundary walls and fences, the pavement, any trees that are staying and anything awkward such as a substation, a bus shelter or a steep drive.
If the images are going into a planning application, say so at the very start. Pictures for a planning officer are framed and labelled differently from sales images, and our guide to planning visuals explains why the viewpoint matters as much as the finish. Mention any trees or boundaries that will change, too, so the image shows the site as it will be rather than as it is today.
Finishes, FF&E and the specification
The finishes schedule decides how close the first draft lands. 'Grey brick' covers dozens of products; a manufacturer name and colour reference covers one. List every visible material: facing brick and mortar, roof tiles, cladding, window and door frames, rainwater goods, paving, flooring, worktop, splashback, sanitaryware and paint colours.
For interiors, the furniture, fixtures and equipment list matters just as much. You do not need to specify every cushion. Name the pieces that carry the design, such as the sofa, the dining table, the pendants and the kitchen stools, and add a short style note for the rest so the artist can dress the room in keeping. If a supplier publishes 3D models of its products, include the links, because a real product modelled once is better than a lookalike.
Camera views and mood references
Mark each camera on a floor plan or site plan with an arrow showing where it stands and what it looks at, and number them. Say whether a view sits at eye level, from an upper window or high above the site. If you are unsure, describe the purpose instead, for example 'the view a buyer gets walking up the drive', and the studio will propose positions on the draft.
Mood references are about light and atmosphere, not architecture. Three to five images are plenty. Note what you like in each one, whether that is a low autumn sun, soft overcast light or a warm evening interior with the lamps on, so the artist does not copy the wrong thing from a picture you chose for its sky.
Mark-up rules that keep a job on schedule
Feedback is where most timelines slip, so agree the rules before the first draft arrives. Our process is a draft render with materials and lighting close to final, then revisions of your mark-ups, with up to 4 revision rounds included on every image.
Kept to the four rules below, a typical set is delivered in 5–7 business days, assuming mark-ups come back within a day of each draft. Our turnaround guide shows how those days break down and how to plan around a fixed date.
- One consolidated round: collect comments from the architect, the developer and the agent, settle any contradictions, and send a single set.
- Annotate on the draft: circle the issue on the image itself and write the fix beside it, rather than describing it in a long email.
- One approver: name the person whose word is final on each image.
- Separate design changes: moving a window or changing a roof form alters the design rather than the render, so it is scoped before work continues.
The questions the studio will ask
Even a thorough brief leaves a few decisions open. Expect to be asked the following before modelling starts, and answer them in the brief itself to save a round of emails.
- What is the image for: planning, a brochure, a property portal, a hoarding or a funding deck?
- What size and format do you need, and is any large-format print planned?
- Which date is fixed, and is there a launch, committee or tender deadline behind it?
- Should neighbouring buildings be shown in full, simplified or left out?
- What time of day and season should the images show?
- Do you want people, cars and furniture in shot, and in what style?
- Who approves the images, and who else will comment on them?
Sending the brief
When the checklist is done, send everything together through the quote form, with drawings attached or linked from a file-sharing service. We reply with a fixed quote within one business day, setting out what is included and the delivery date, and flag anything missing before the clock starts rather than halfway through the job.
Nothing on this list has to be perfect on day one. A brief with gaps that are named is far easier to work with than one that looks complete and is not, so if the landscape or the kitchen is still undecided, say so and the studio will plan the order of work around it.
Looking for prices? Every published figure is on one page: 3D rendering cost in the UK.
Questions
Frequently asked questions
At minimum, PDF plans and elevations for every area in view, plus sections if the levels are unusual. DWG, Revit, ArchiCAD, SketchUp or IFC files speed modelling up. Add site photographs for exteriors, a finishes schedule with product names, and a marked-up plan showing where each camera should stand.
PDFs are fine for most houses and interiors, provided they are drawn to a stated scale. Hand sketches can work for early concepts if key dimensions are written on them, but expect more questions and a less precise first draft than you would get from measured drawings.
No. Most studios build the model from 2D drawings as a matter of course. If you already have a Revit, ArchiCAD or SketchUp model, send it, because it can shorten modelling, but it will usually be cleaned up and rebuilt in places so that it renders well.
Brief the views you will actually use. For a single house, a front and rear exterior plus two or three interiors is a common set; for a planning application, the viewpoints the officer and neighbours will recognise. Fewer, well-chosen views beat a long list of near-duplicates.
Changes to colours, styling, planting or sky are revisions and are covered by the included rounds. Moving walls or windows, or changing a roof, alters the design itself, so it is scoped and quoted before work continues, which keeps the price and the delivery date honest.
This page is effectively it. Work through the seven steps at the top, attach the files listed under each heading and answer the questions the studio will ask. A brief that covers those points is complete enough for a fixed quote and a firm delivery date.
As one consolidated set from one approver, annotated on the draft image itself. Circle each issue and write the fix beside it. Feedback that arrives piecemeal from several people over several days is the single most common reason a rendering job runs late.
Services
Commission a render
Property CGI
Property CGIs for UK developers and build-to-rent: exterior, interior and aerial CGIs for brochures, portals and hoardings.
from £225 per image
3D Interior Rendering
3D interior rendering for interior designers, developers and show homes.
from £225 per image
3D Exterior Rendering
3D exterior rendering for UK developers and architects: street-level, aerial and masterplan CGIs from £295.
from £295 per image
Verified Views
Verified views and photomontages for UK planning applications, built from your site photographs to a documented method.
from Fixed quote per project
Architectural Animation
Architectural animation, walkthroughs and CGI flythroughs for UK developments, from £45 per second (30-second minimum).
from £45 per second (30-second minimum)
3D Floor Plans
Rendered 3D floor plans for UK developers, estate agents and brochures.
from £395 per plan
Housetype CGI
Housetype CGIs for UK housebuilders: one model per house type, rendered across elevations, materials and plots.
from £295 per view
3D Product Rendering
3D product rendering and furniture CGI for UK brands: white-background, lifestyle and room-set images from CAD or photos.
from Fixed quote per image
Kitchen CGI
Kitchen, bathroom and bedroom CGIs for UK KBB brands and retailers: brochure room sets, door-range variants and lifestyle images from £225 per image.
from £225 per image
Commercial 3D Rendering
Commercial 3D rendering for offices, retail, hospitality, student accommodation and logistics schemes.
from £295 per image
Virtual Staging
Virtual staging for UK estate agents, landlords and build-to-rent: empty rooms furnished by 3D artists, not AI filters.
from £95 per room
More guides
Keep reading
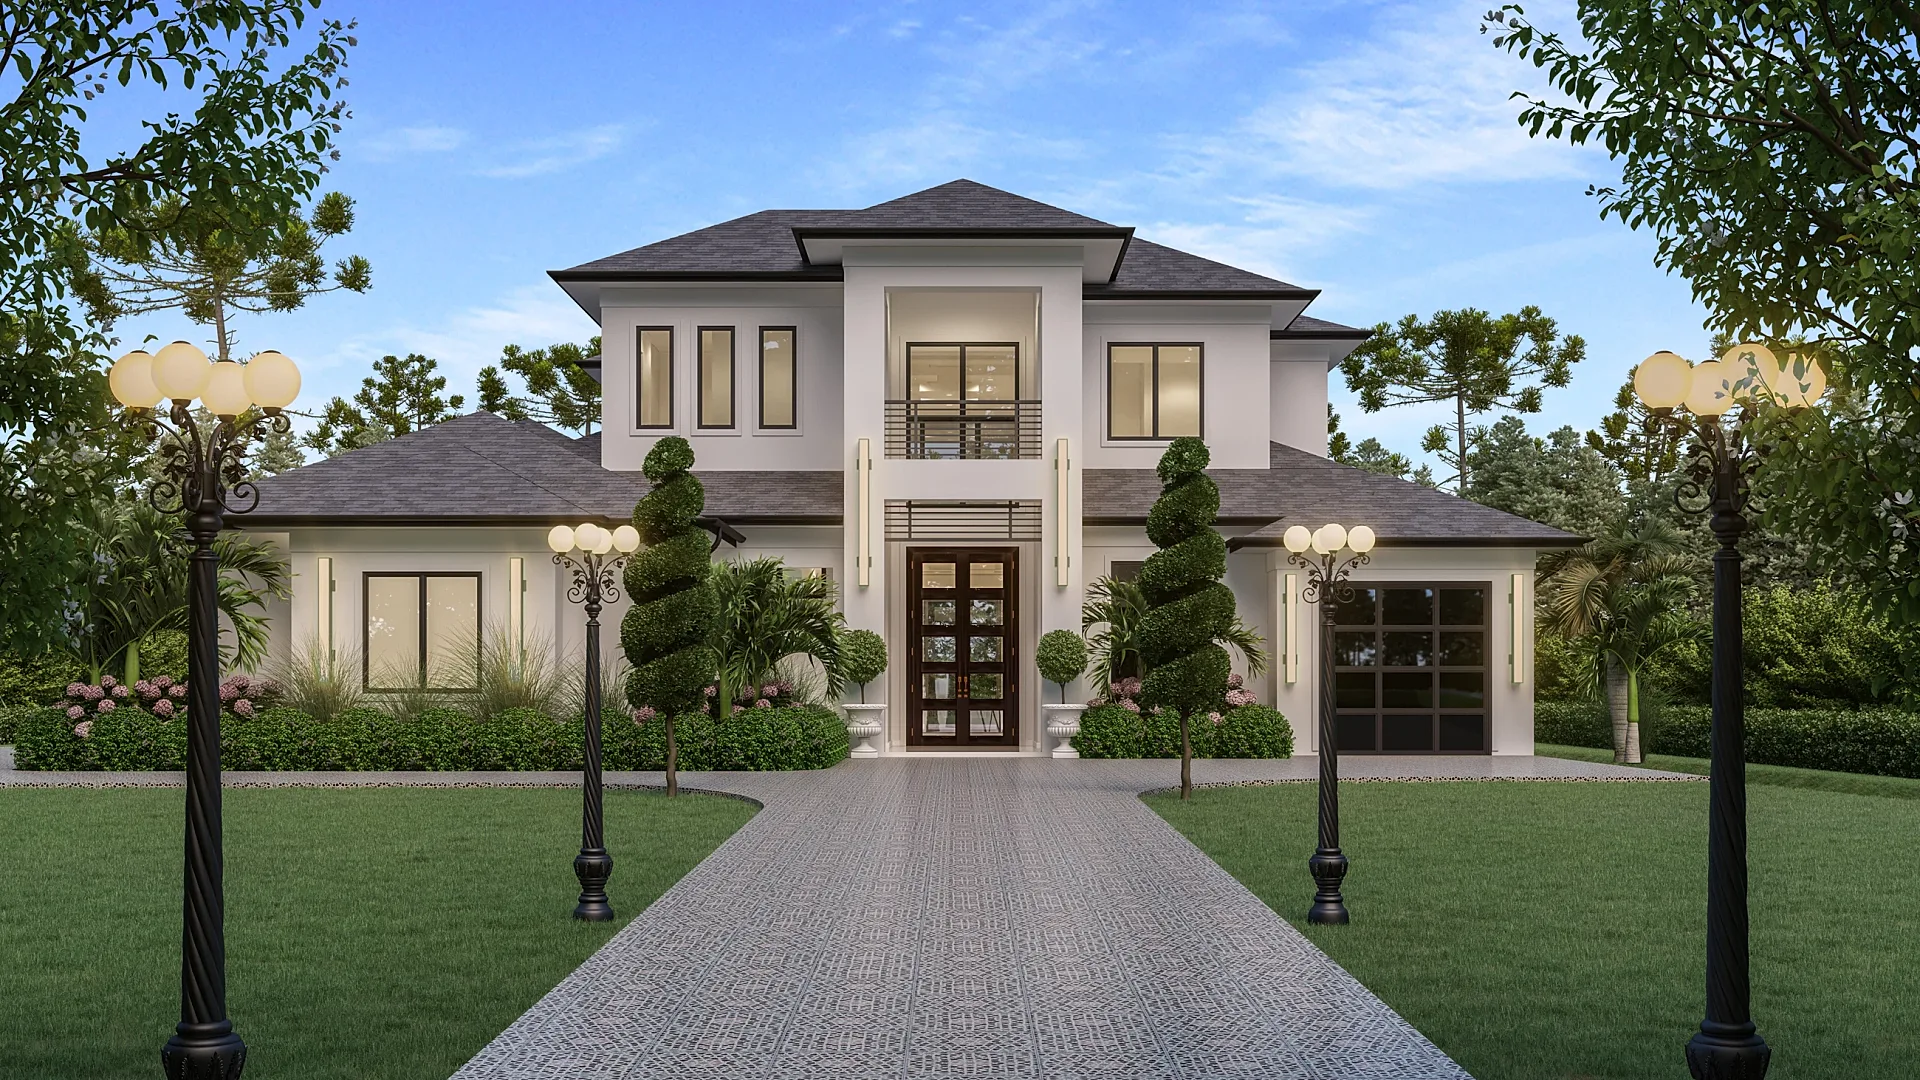
What Is 3D Rendering?
What 3D rendering is, how a CGI is made from drawings, how it differs from a photo or an AI image, and when a UK project needs one.
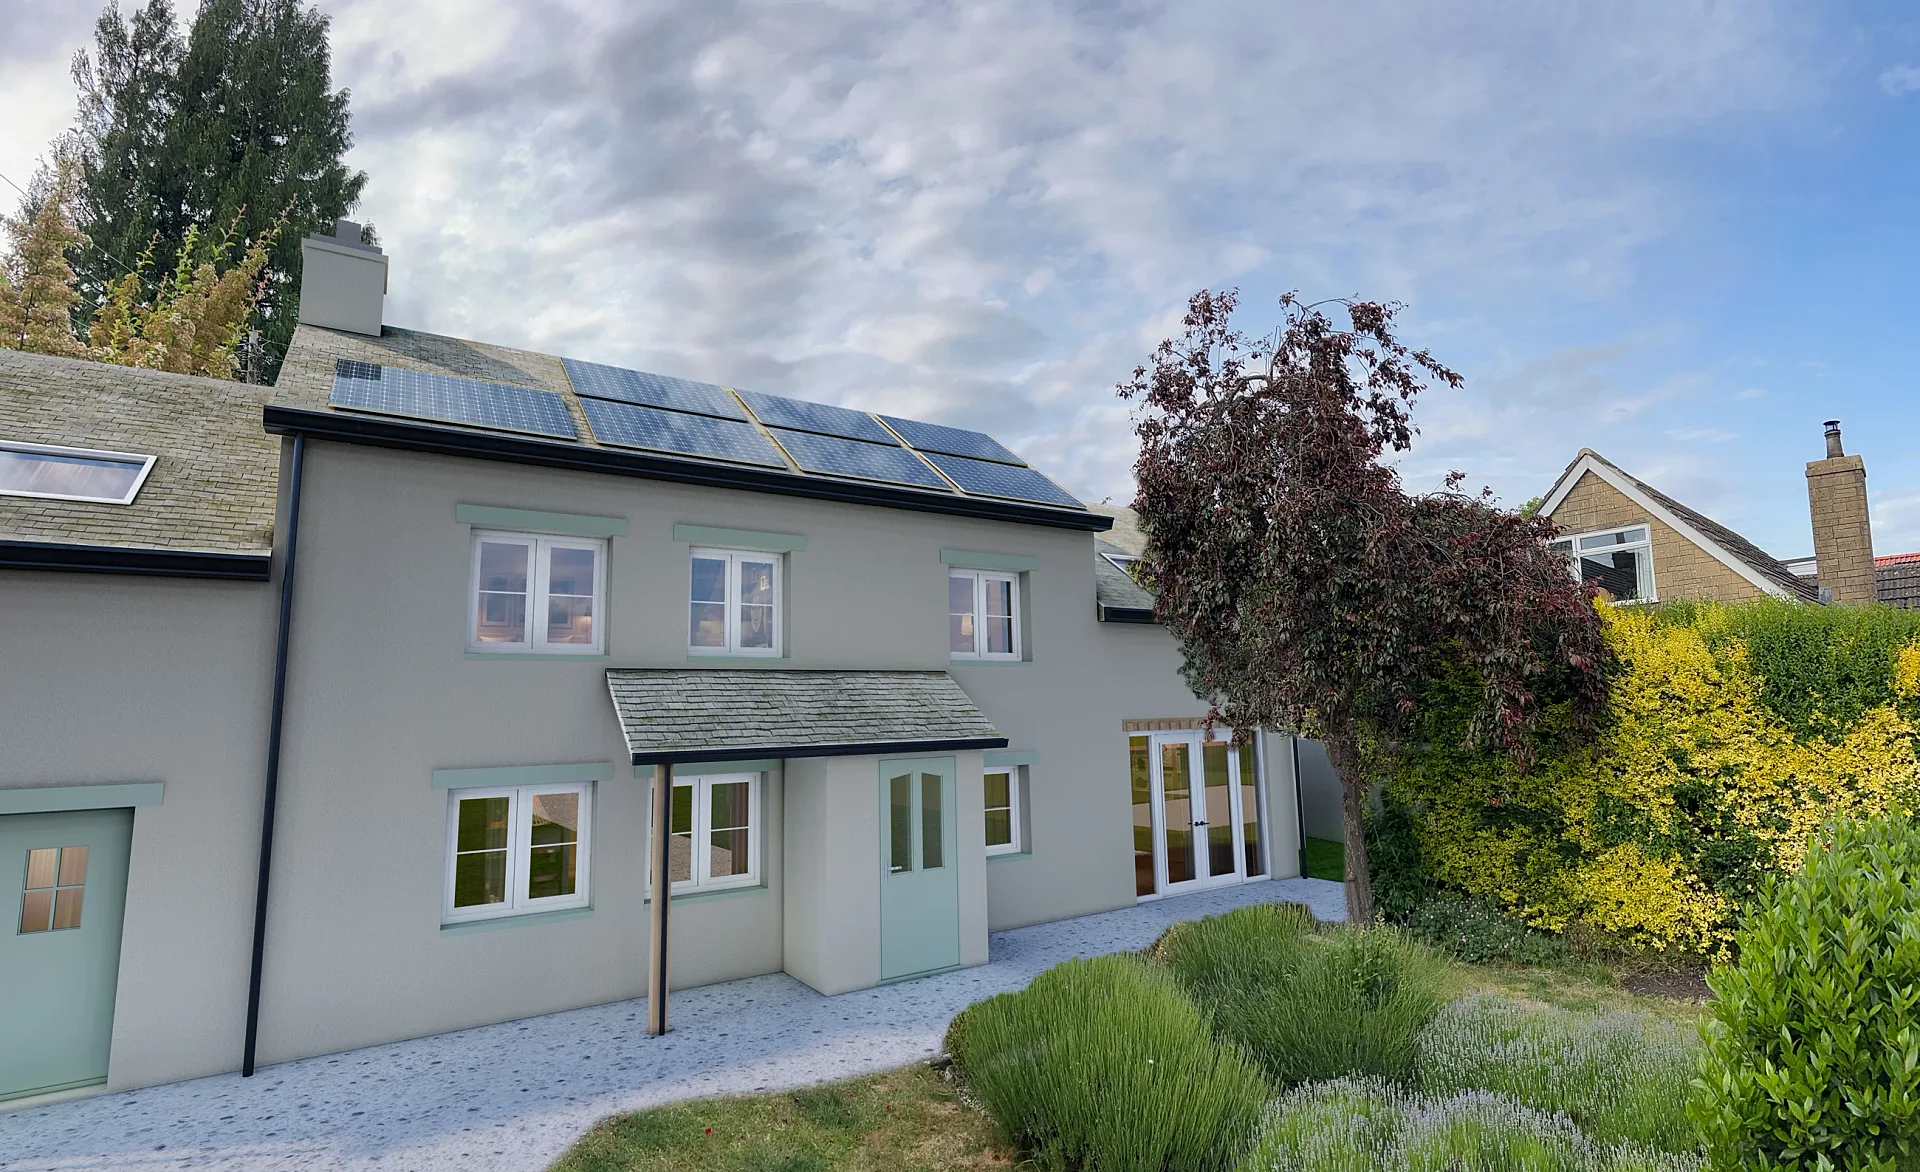
CGIs for Planning Applications: What UK Planning Authorities Expect
How CGIs, photomontages and verified views support a UK planning application: Design and Access Statements, committee presentations and TGN 06/19.
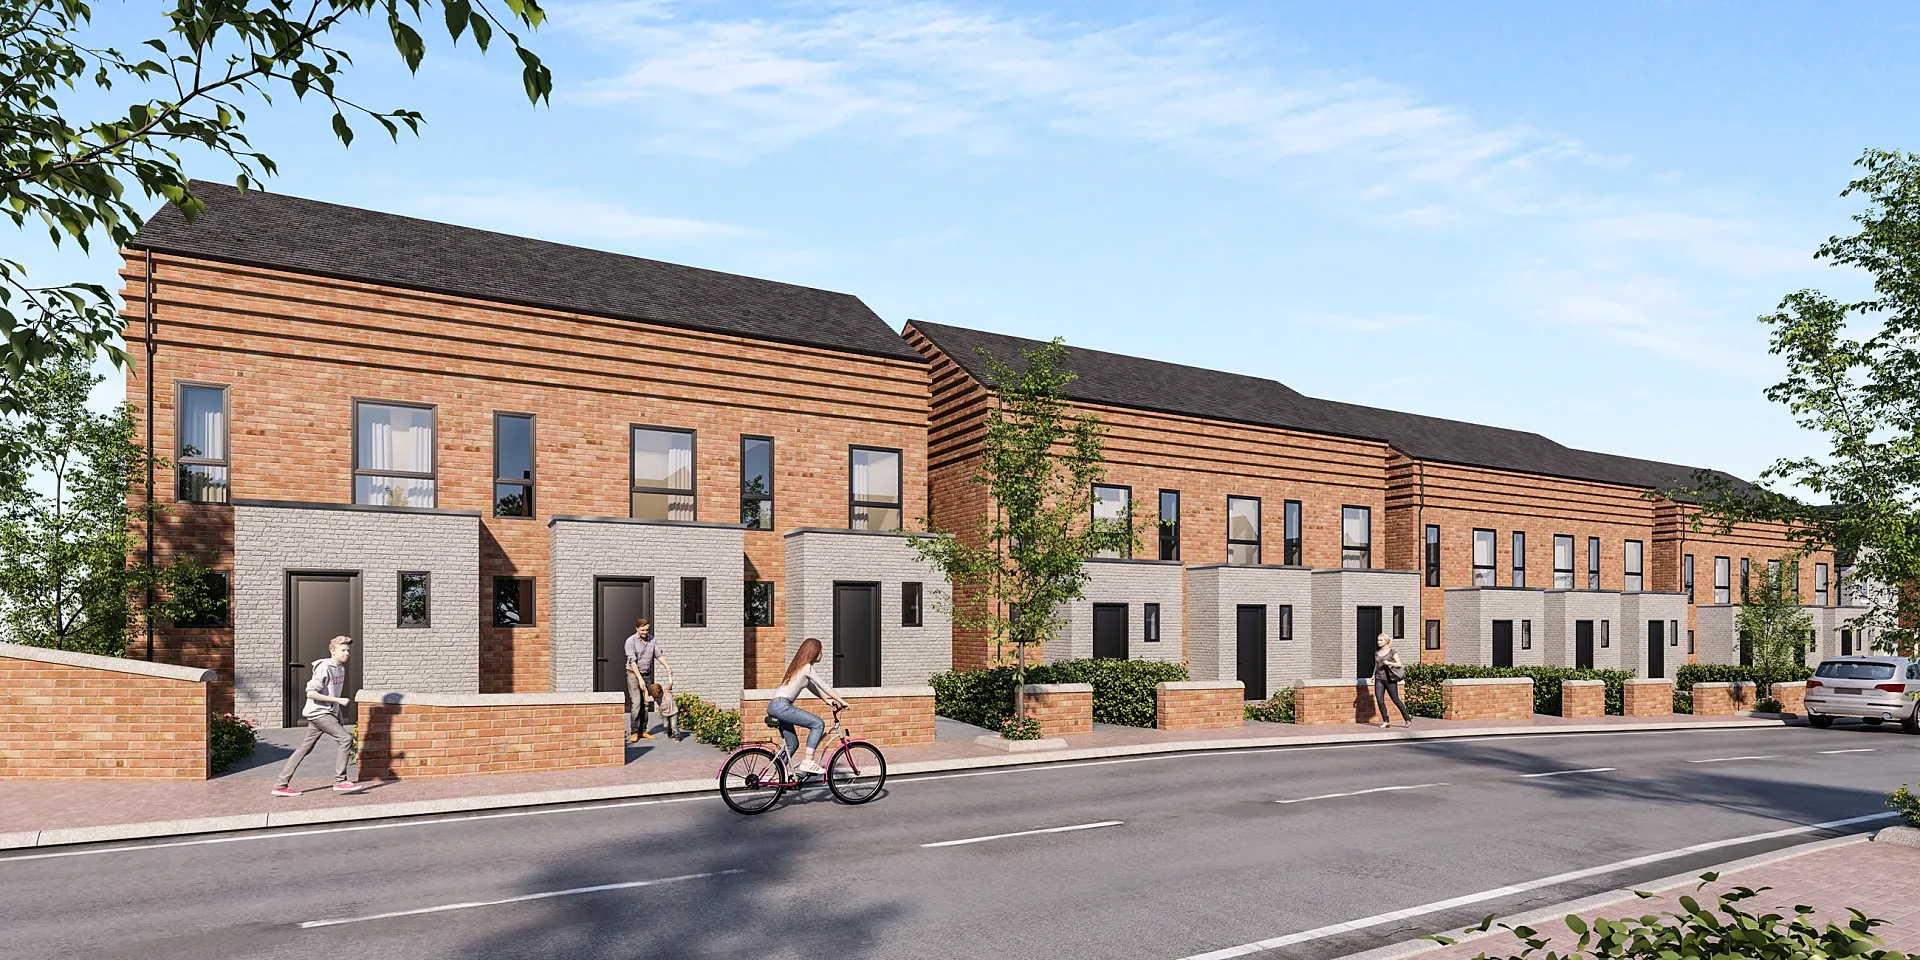
Off-Plan Marketing with CGI: A Developer's Guide
How UK developers sell off-plan with CGIs, floor plans and animation: what to commission at each stage, from planning through launch to completion.
How Long Does 3D Rendering Take?
Realistic UK turnaround times for CGIs, floor plans, animation and verified views, and the mark-up habits that keep delivery within 5–7 business days.
Get a fixed quote within one business day
Send us your plans, elevations or even a sketch. Exterior renders from £295, interiors from £225, delivered in 5–7 business days.